Okay, so this is something I wanted to try making with those fabric scraps that aren’t really big enough for anything, but seem so wasteful to throw away. After all, heading toward more sustainability, I definitely don’t want to be wasteful.
Basically I woke up on a day off, rolled downstairs and made coffee, then headed straight to my sewing machine. I blame this on my incorrect measurements… but you know what, it worked, even if it was not the 8×8 I was going for. That’s all that matters.
I want to eventually make a case for this so that I can easily take it along when travelling and not be as wasteful. I thought about making a wet bag compartment as well, but honestly, I’m a self taught sewer who just kinda… wings it and isn’t very good with patterns. Still, if I ever am able to get this made, I’ll definitely share it!
So yeah, my intention was to make an 8×8 with 1/2 inch seam allowance, so I should have cut 8.5×8.5, except you know what my tired ass did? It misaligned on the ruler and cut 8.5×7.5. So this final product ended up 8×7. Whoops! Anyway, if you’ve been to my blog before, you know I’m not the best photographer, but still, I’ll post some semi helpful photos along the way 🙂
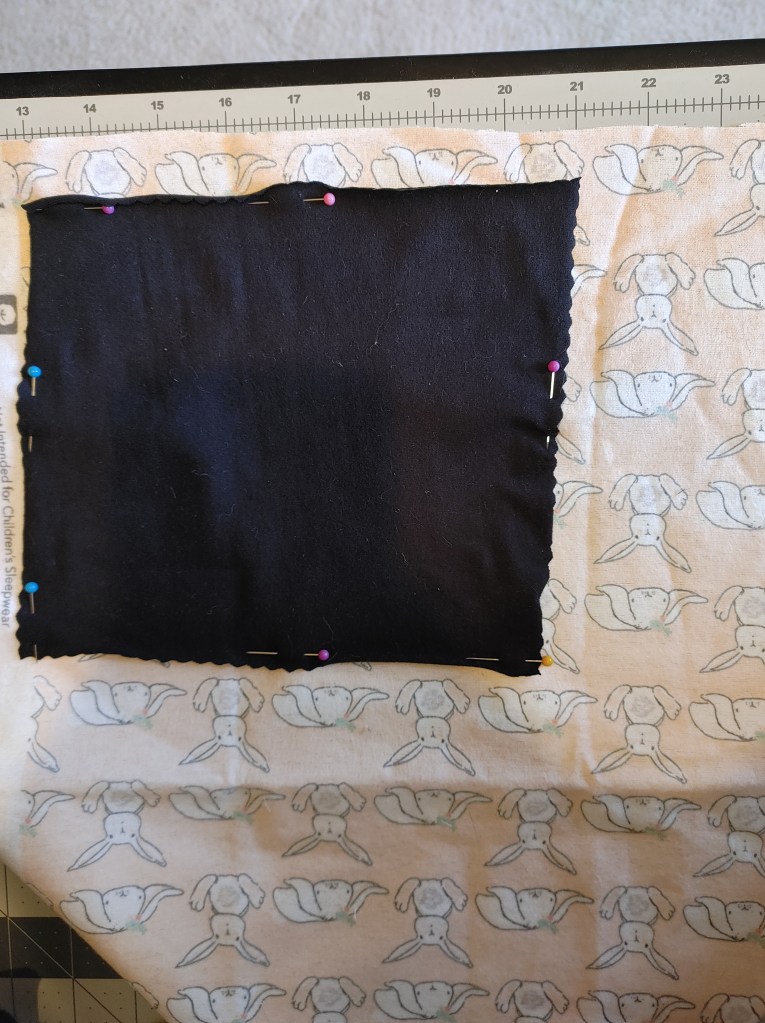
You can definitely do these in 1 ply, but my material wasn’t super high quality, so I wanted it to be more durable. I decided to do a plain side and a print side. After cutting my first 8.5×8.5 (err–8.5×7.5) square, I pinned it right sides together with my second material.
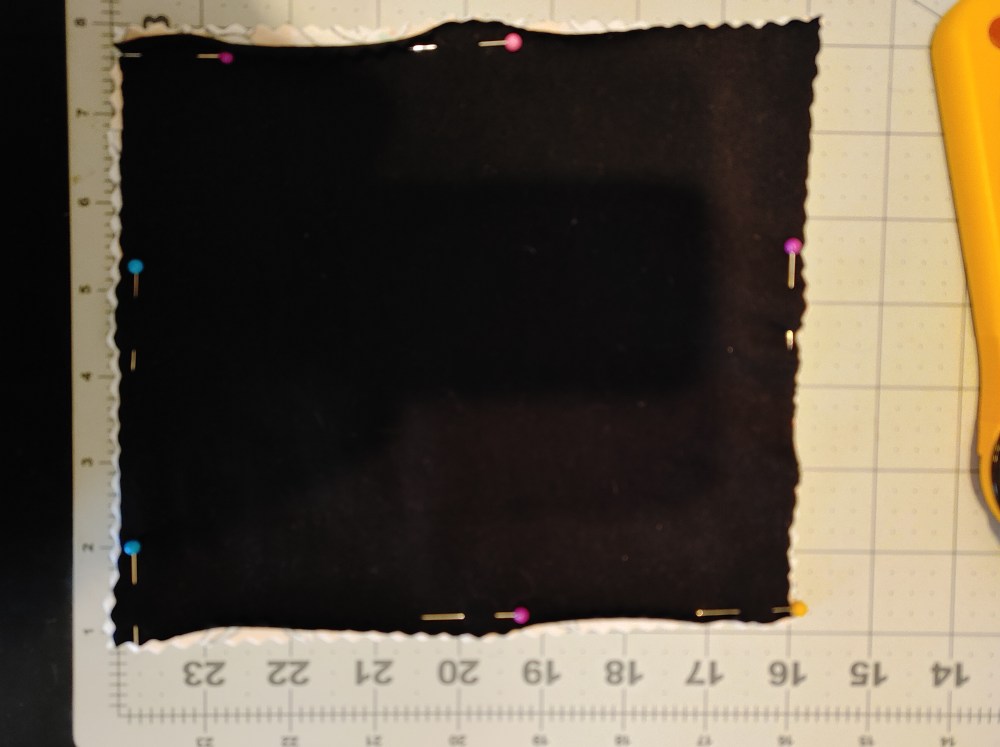
Then you’ll want to cut out the second material there, leaving you with your right-sides-pinned-together square. I don’t own a serger (oh how I wish I did, though!) and I really didn’t feel like hemming here, probably since I just woke up. I have a zigzag rotary cutter, so I just used that sucker to help with durability. If you have a serger, or are more ambitious than me, finishing those edges will definitely help with durability.
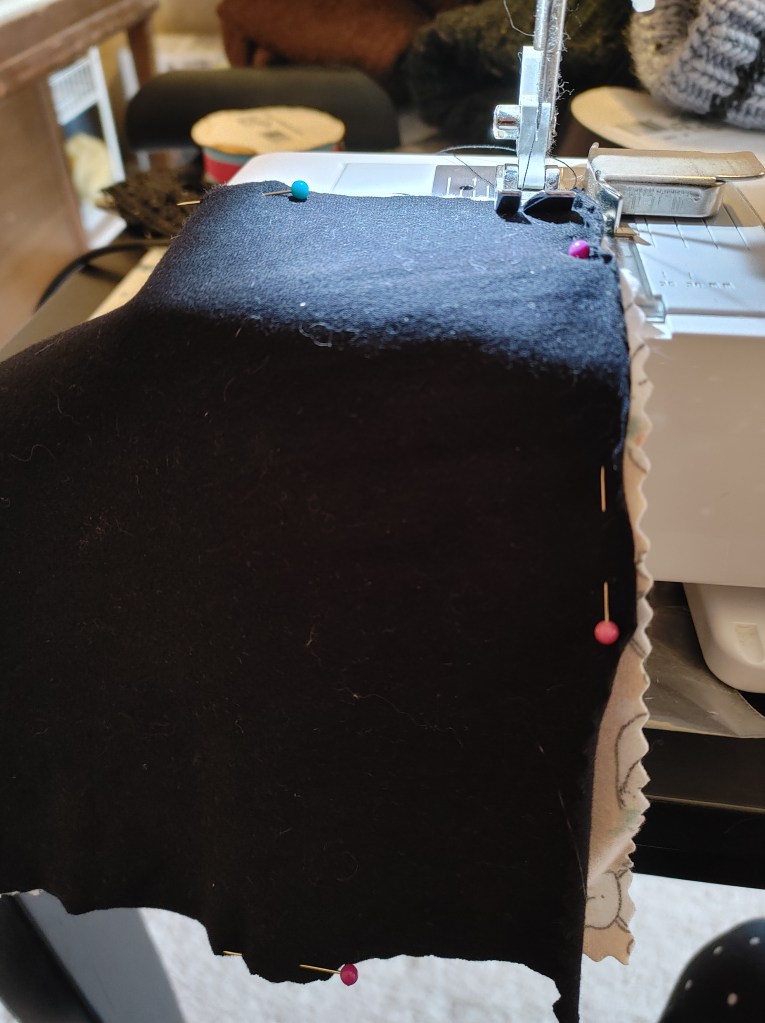
Then you’re going to take it to the sewing machine and sew around the edges, leaving about a 2 inch opening on the final side, where you can flip it right side out. Daaaang, look at all that cat hair, everywhere. That is my life 😛 I remove the pins as I go, I feel like it helps my lines stay straighter.
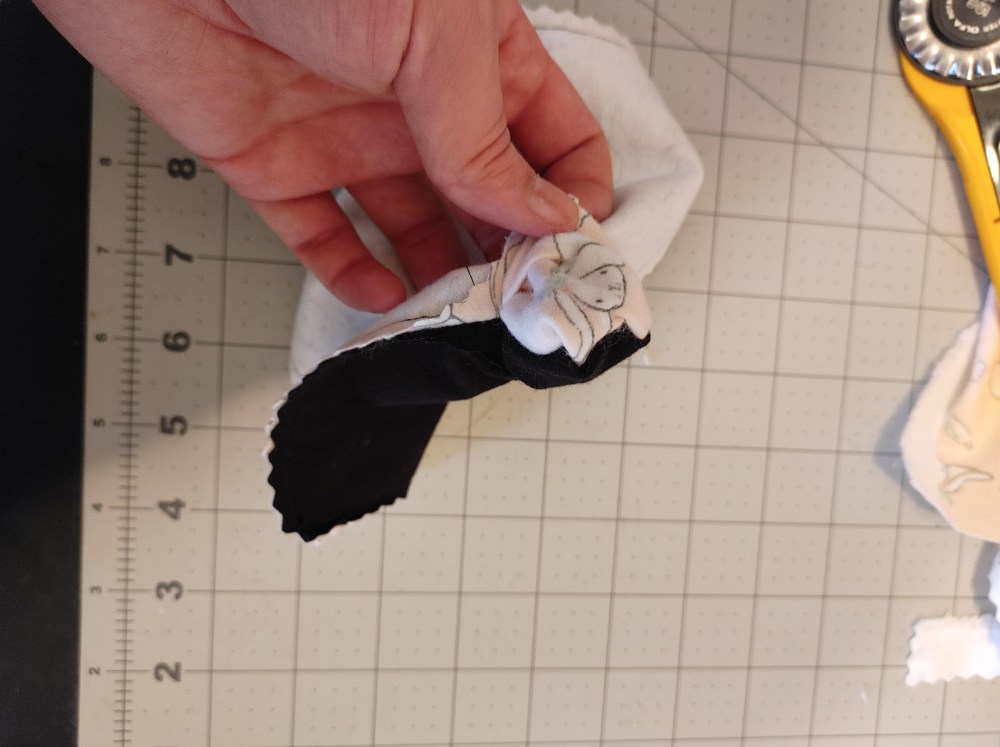
So using my rotary cutter again, I trimmed down the excess edges and snipped the corners. You’ll want to cut as close to those corners as you can without getting the thread, just to reduce bulkiness there. Then go ahead and turn it right side out. I seriously only left about a 1 inch hole here because I just… forgot that I was needing to leave one… should’ve let that coffee kick in first, lesson learned.
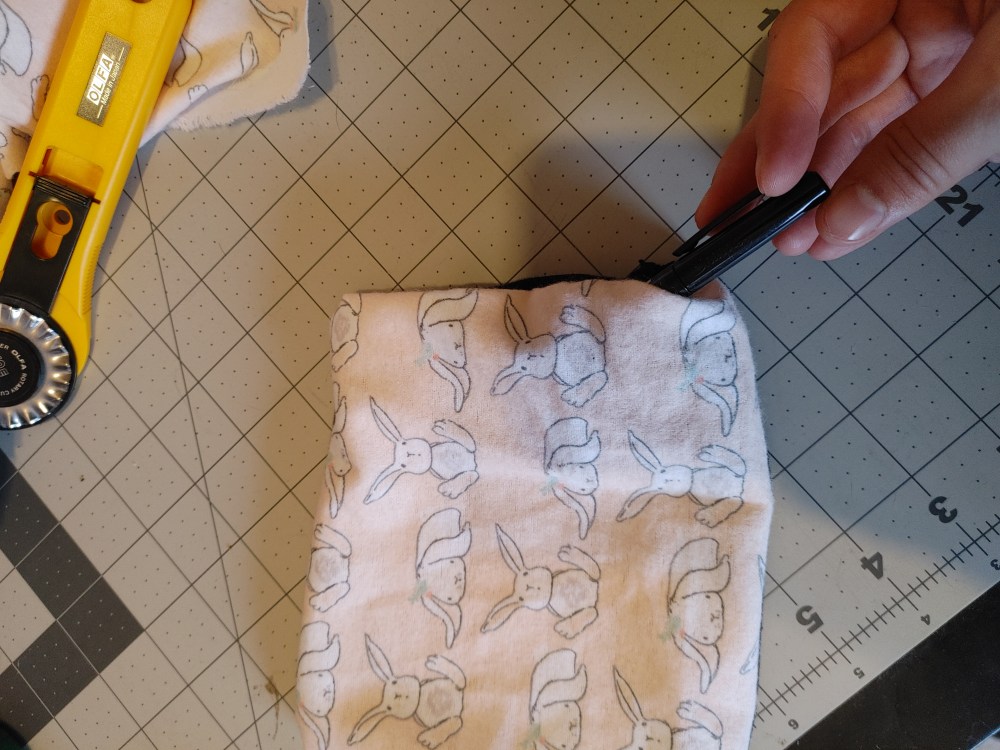
If you need to, use anything that’ll work to help push out the corners to their fullest potential to again help reduce the bulkiness. I had a sharpie pen nearby, so that’s what I used here.
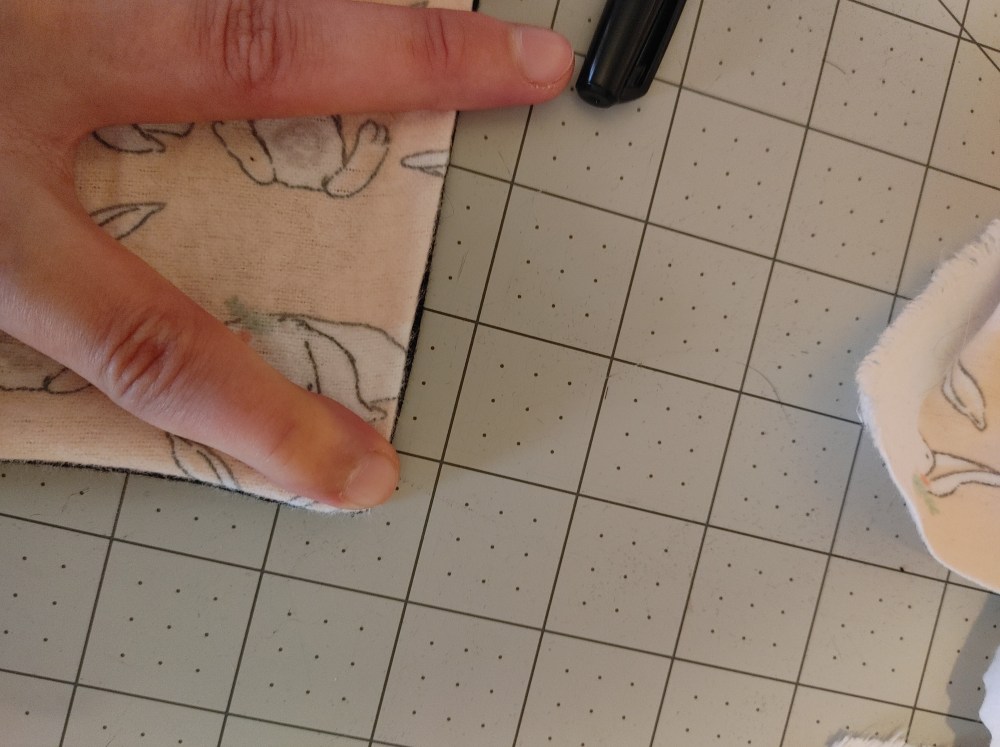
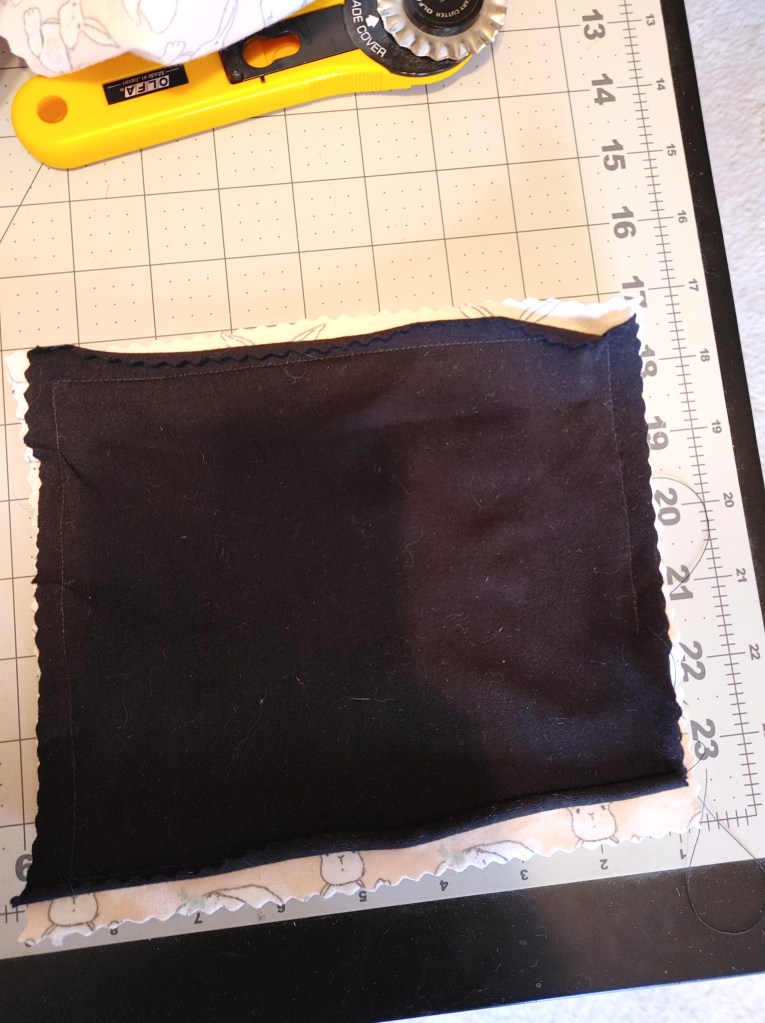
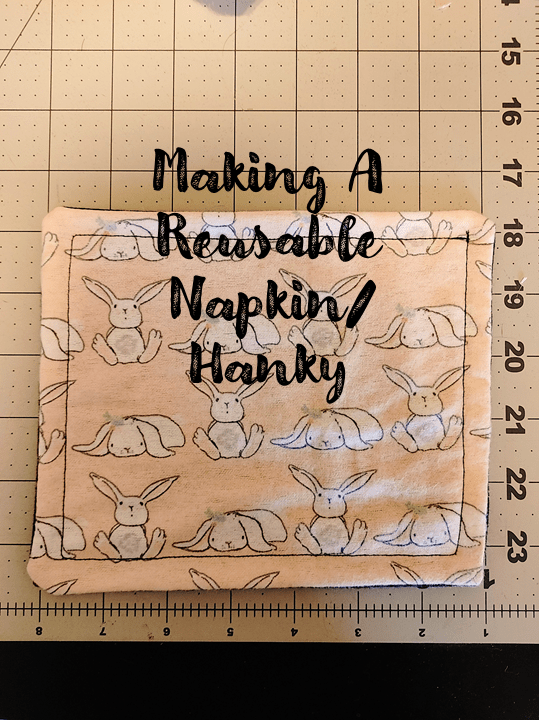
That’s where my opening was to turn it. Fold it under nice, press if necessary, and topstitch that closed. I then went around and sewed a square (err–I guess it’s a rectangle because of my off measurements) just for decorative purposes. I guess it ended up looking alright, but maybe I should’ve chosen a lighter color so that the contrast was on the solid side, rather than the print.
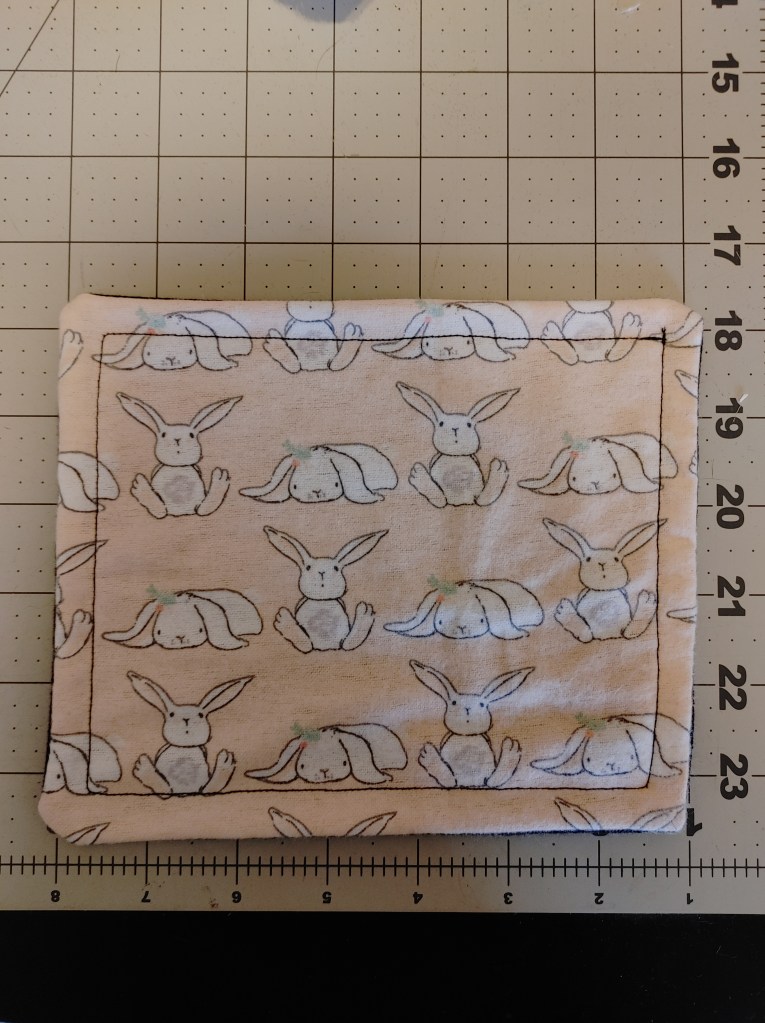
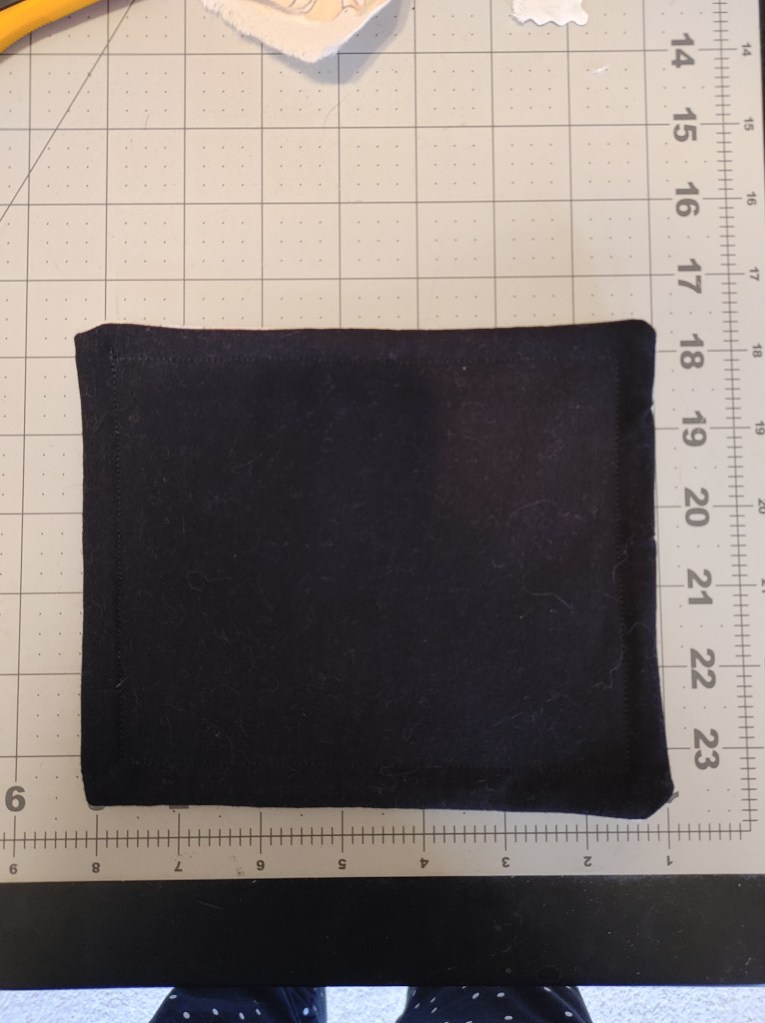
Oh my god again, with the cat hair haha… but there it is. A really easy way to make a reusable napkin that you can carry along with you. This probably took me 15 minutes altogether, and now that I know what I’m doing, I could probably have it made in 10 and with the correct measurements.
If you have a high quality material that doesn’t need a second side, all you have to do is finish your edges and you’re good to go. Maybe 5 minutes of your time is all it would take.

One Comment Add yours